Friday, September 21, 2012

Now that I have one eye to my liking I can start working the other. Here's where it gets tricky. Making one eye look the way I want is easy making them both look the same, not so easy. At least not for me. No matter how many eyes I set it still can take me upwards of two hours or better to get them right. But then again if they aren't right the rest of the carving won't be either. For each carving I do I am looking for a specific "look" not only in the pose but also in the eyes.
 In the first picture I have added a gob of putty to the other eye and will begin to work it in. 
Now we have the finished results. Both eyes look the same, have the look I wanted and it only took me about two hour for both eyes.
Here we have the eyes completed


As you can see here the left eye needs some more work. I will now work this one with some carving bits to further refine it.

 
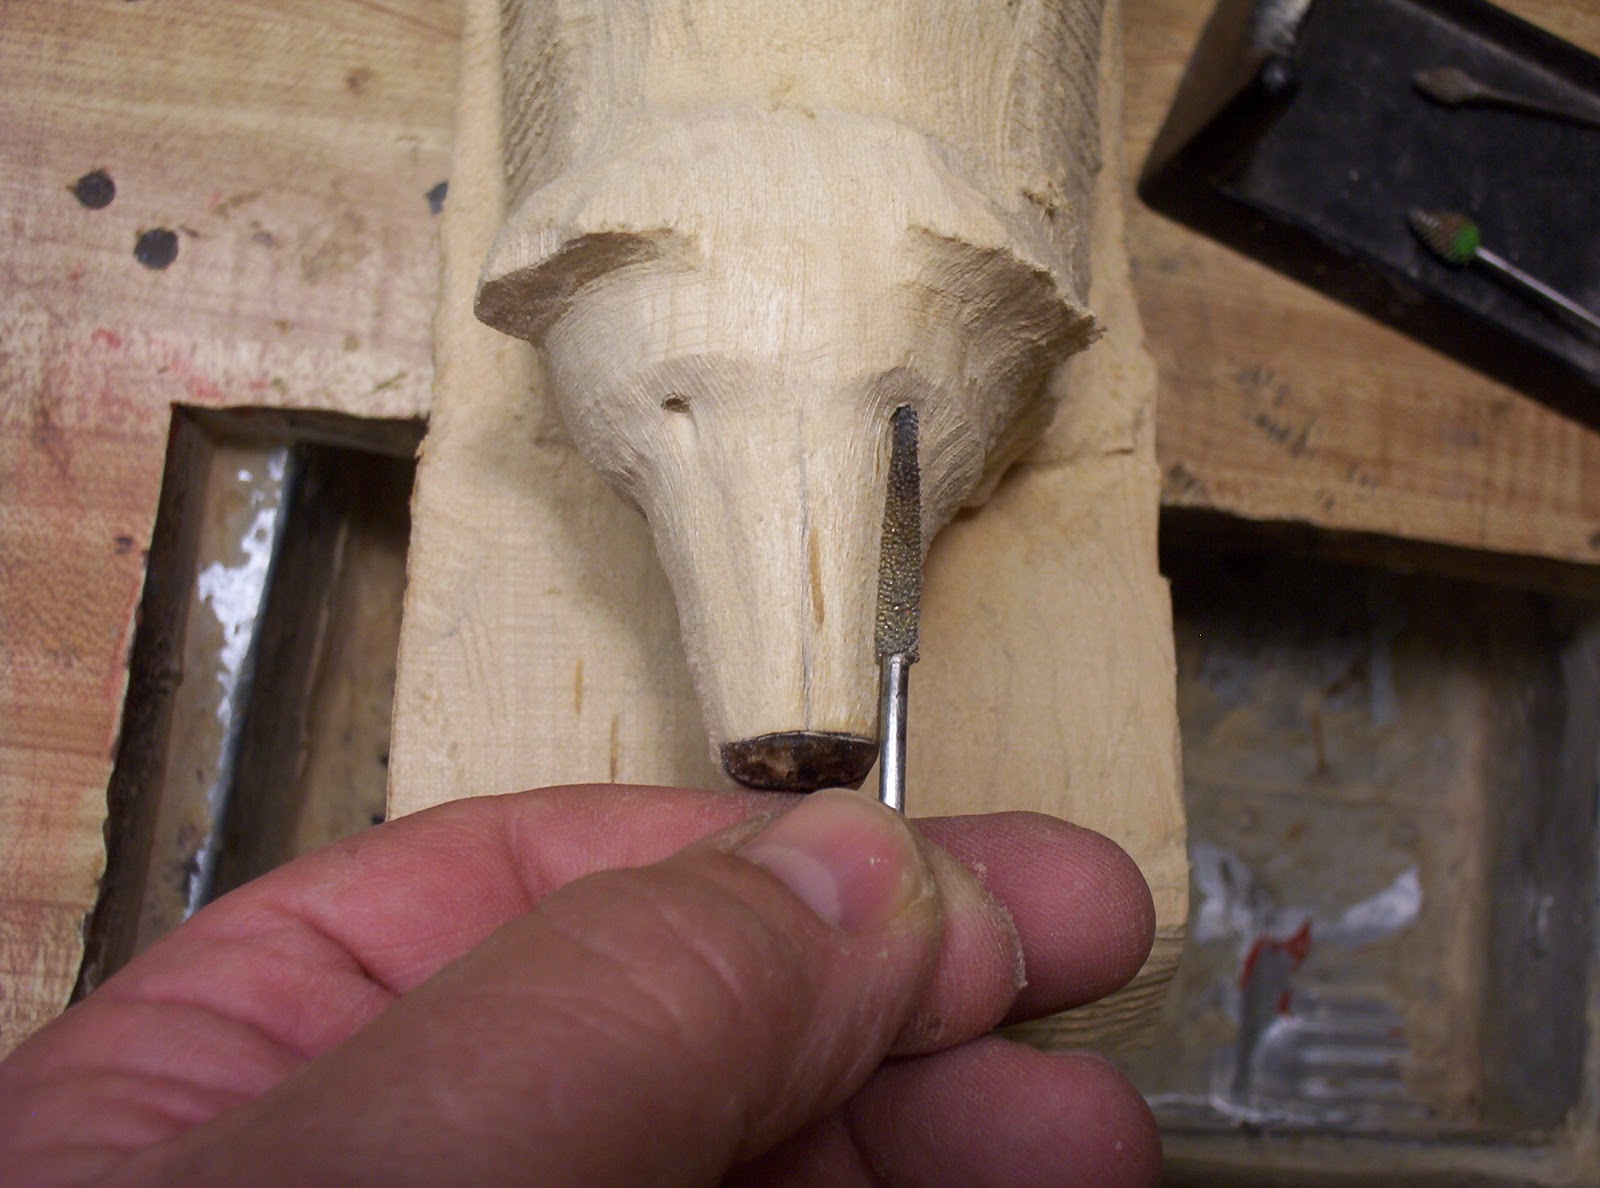
Now we can talk a little about the highly sophisticated and technological tools I use for setting eyes. You've already seen the bit I use for drilling my pilot holes, now for the rest.
The top two are alignment tools I made from a couple of old upholsetry needles. The work great for aligning the eyes, just put the tools at the top, bottom or the front of the eyes to see if the are aligned as below
Here I can see the tools are straight across from each other and by looking from the end I can tell if they are in line that way.
The other tools are simply different size carving bits I use to enlarge the eye socket. I try to pick one that is as close to or slightly over the size of the eyes. I will grind out the pilot hole until I have the depth that I want.
Now that I have refined the area around the eyes and the sockets are the proper depth I can glue the eyes in place. I put the eyes in and then put a few drops of super glue at the top of each eye. I let it run down behind the eyes and the eyes are now glued in place. I then use the wood putty to form the area around the eyes and the lids. I work one eye until I get the look I want then let it dry. Once dry I work the other eye to get it to look the same as the first.


Here you can see the eyes are glued in place. The darker area above the eyes is the super glue.

In this picture I have applied a gob of the wood putty and will start working it to form the upper and lower eye lids.
This is the wood putty I use when setting the eyes. I get it a local building supply store. They do not carry the solvent or thinner anymore, but I have found acetone works just as good. One thing I have found with the putty is that the more you work it with the thinner the stronger it seems to get. I use a small medium stiff paint brush to work the putty and form the lids. I just dip the brush in the thinner and continue to move and work the putty until I get it where I want it. The biggest advantage, in my opinion, to using this putty is even after a few days I can still make adjustments if needed on the eyes. Also if I happen to damage an eye and need to replace it removal is easy, just keep the eyes area wet with thinner until the putty softens enough to pop the eye out. Again maybe not the right way or the best way, but it's how I set the eyes.
  Next time, making the eye lids and getting the look I want for the carving.

Thursday, September 20, 2012

Well I am finally back on track with the new polar bear. When I made the cutout, the head was out of proportion to the rest of the body. So I made the head smaller which is more is tune to the size carving I want. I have the nose carved in again and can now start laying out the eyes. In the pictures I have drawn in the eyes. By drawing in the eyes I can also see if I need to make any minor changes to area aroung the eyes. To me they aren't quite right, so once again I will keep drawing and erasing them until I get it right. Yup, I buy my pencils by the box. LOL
In the last picture I am satisfied with the eyes drawn in and have carved in the eye sockets.


  Now lets talk a little about the eyes, predators have eyes that are facing forward, in other words they can see the tip of their nose easily with both eyes. Prey animals have eyes that are more on the side of their head. Remember the old saying from eighth grade biology. Eyes in the front so I can hunt, eyes on the side so I can hide. As you can see the eyes are forward facing so he can hunt. Another hint on the eyes is that like humans, mammals eyes have a slight downward slant. It's hard to see here but the area directly under the eyes is carved in just bit more than the top. I don't get too carried away with it because I will make up the difference with putty when I set the eyes. I use glass eyes for all my animal carvings. I buy standard grade dark brown eyes in various sizes, I can then use them for all the bears,  moose or elk I carve.


In the pictures here I am happy with my eye placement and have predrilled a small guide hole in the sockets. I use a Karbide Kutzall bit in the shape shown. I don't go real deep because I can still make some minor adjustments here if needed. I also use my 60 degree theory to line up the eyes. In the next session I'll insert the eyes and start setting them with my wood putty.


Wednesday, September 19, 2012

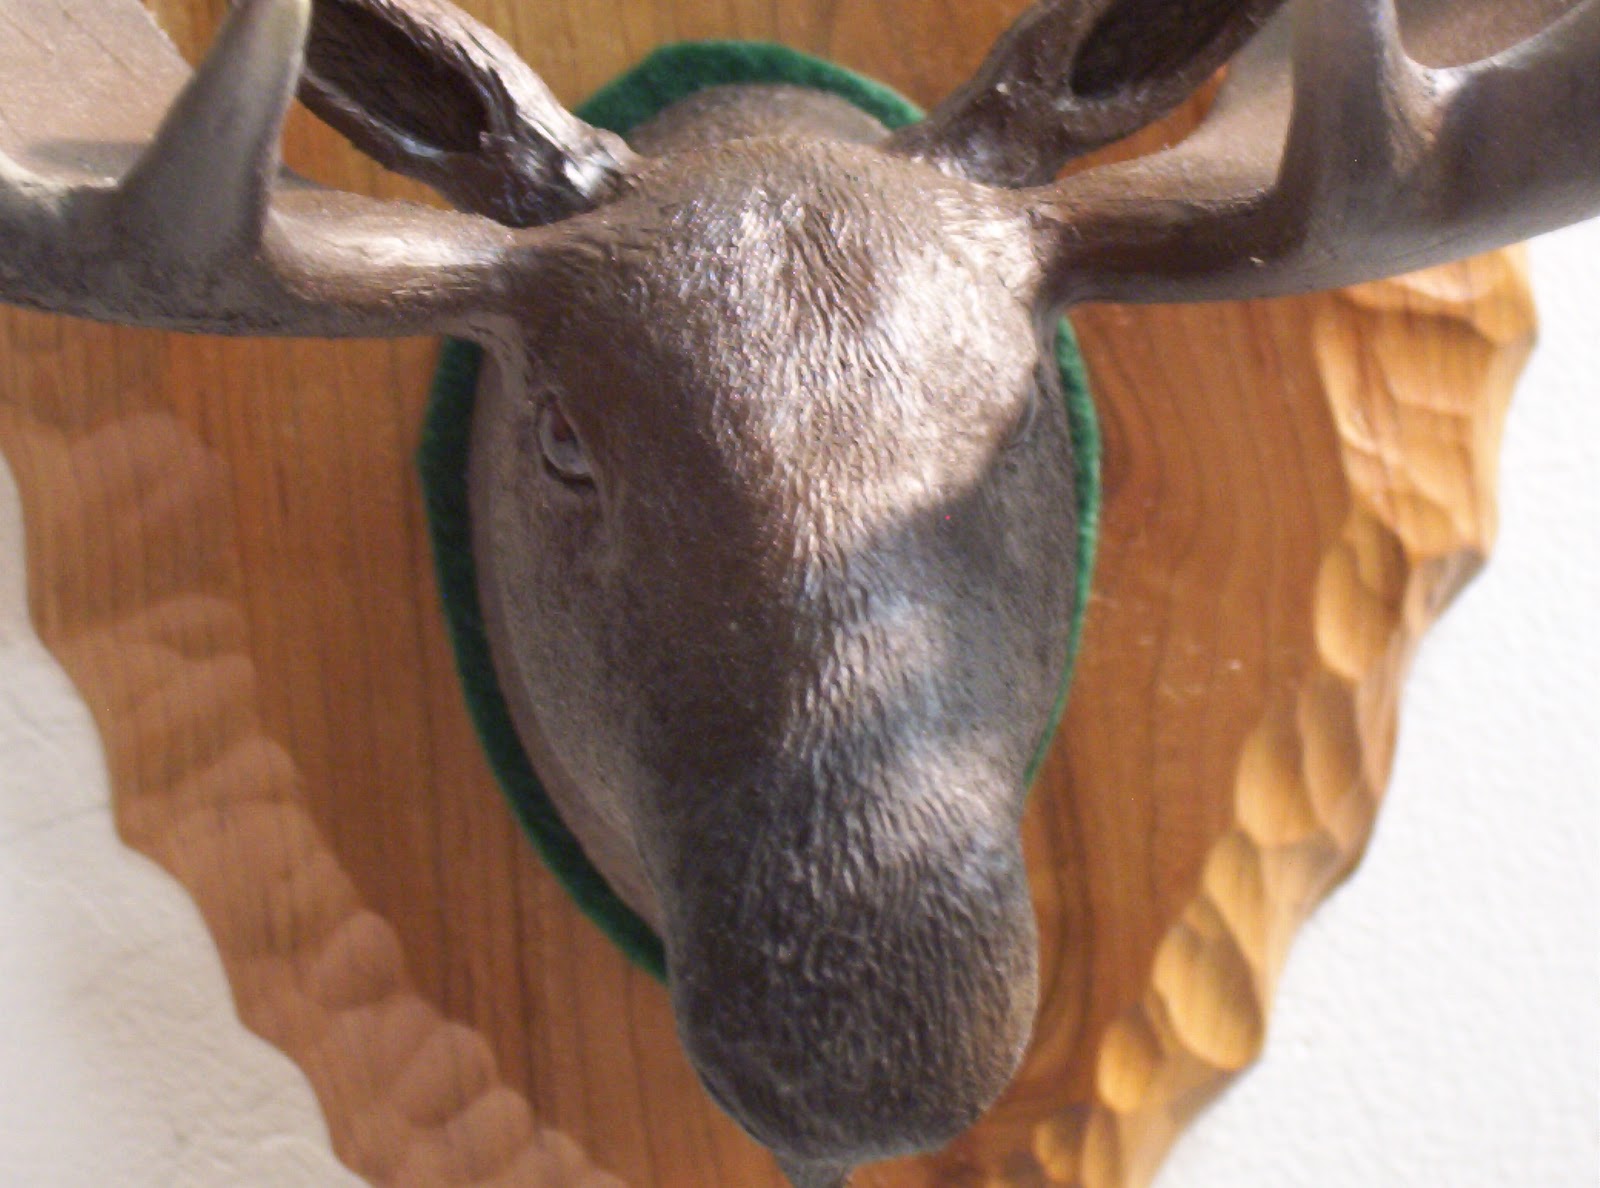
Ran into a design problem with my latest polar bear carving. So I can't set the eyes just yet, but while I work out the problem, thought maybe you would like to see another of my carvings. I have been thinking about carving a moose for a while. Their head seems out of sync with other members of the deer family, with their large antlers, long snout and bulbous nose. Thought I needed a little practice before I attempted a full carving, so I carved just a moose head. The head was actually finished before I started the polar bear project. He has been hanging on the painting rack for about three weeks, so today I painted and mounted him. Hope you enjoy.


The whole carving including base is 6 1/2 L x 6 W x 4 1/2 D

Monday, September 17, 2012

  As promised I have started another polar bear head. Fact is instead of just carving a head, I have started another polar bear carving. This time I will show you my process for setting the eyes. Again it may not be the best way but it's how I insert and set eyes. I have again carved the nose so that it can be used as my reference point for the eyes, ears and mouth. I have found that for polar bears an approximate sixty degree angle from the tip of the nose back to the face is where the eyes will be positioned. How did I come up with sixty degrees? Well it looks right and I've taken as many measurements of as many head on pictures of polar bears as I could find. Also I have several patterns by well known pattern makers and it comes out about the same on the pattern, anywhere from 55-65 degrees. By far the biggest factor is how do they look in relationship to the nose. That is why once I have the nose carved and the head roughed in I keep drawing and erasing the eyes until I get them right.
  In the pictures you can see I have the nose completed the preliminary mouth carved and the eye sockets carved in. If you look close you can see a small hole in each eye socket. Figuring roughly sixty degrees from the tip of the nose I put a small hole each socket. This gives me a rough idea where the eyes should go.


Next we will draw the eyes in and I will show you how I set and finish them.


Sunday, September 16, 2012

  Our polar bear journey is in the home stretch. I have completed the painting and blending, added color to the nose and claws. Three coats of clear matte topcoat have been applied and I have removed the paint from the eyes to make him look real.
  Although the carving is done it's not complete. It's time to move on to the base. In a previous post I talked some about wanting to add more realism to my carvings by having a more natural setting for the base. Since I started the carving project I have been kicking around an idea for a base. It may require a little experimentation on some scrap wood first but I hope I can pull it off.
  Before I start the base I will go back and carve another polar bear head to show you my process for setting the eyes. This time I will do my best not to delete the pictures, before I can post them. In the next week I will post on the eyes and base. I hope you continue to follow along, if not I want to thank you for taking the time to so this far.


As you can see here our patch has disappeared. Also notice around the nose area the very light gray blended into face.


Here is the completed bear, as he paitiently waits for the base to be constucted.


  Now that I have applied several coats of gesso I can start putting on the white basecoat. I use an airbrush to paint my animal carvings simply because I think it gives me more flexability when I want to blend in colors. That's not to say the same results cannot be acheived with a brush, and here again I say use what you are comfortable with. I am by no stretch of the imagination an expert at the airbrush. In fact I have only been airbrushing my carvings for the last several years and used a brush prior to that. There are still times when I will use a brush to add highlights or to touch up a small blemish. Below are the pictures of the bear after several thin coats of pure white have been sprayed. Once the white is done I will alternate with blending in some very pale yellow to get the color I want. 
 An adult polar bear is really not white after all, but a blend of white, light yellow and light grey colors. In fact in doing some research I've read that each individual hair is actually a translucent clear color, but I can't figure out how to paint that so I'll just make him white.


In these three pictures the white basecoat is just about done, I may have to touch it up here and there but for the most part I can start blending in my pale yellow.


Here I have started to blend in the pale yellow color and will keep switching between the pale yellow and pure white until I get the look I am after.