Saturday, September 15, 2012


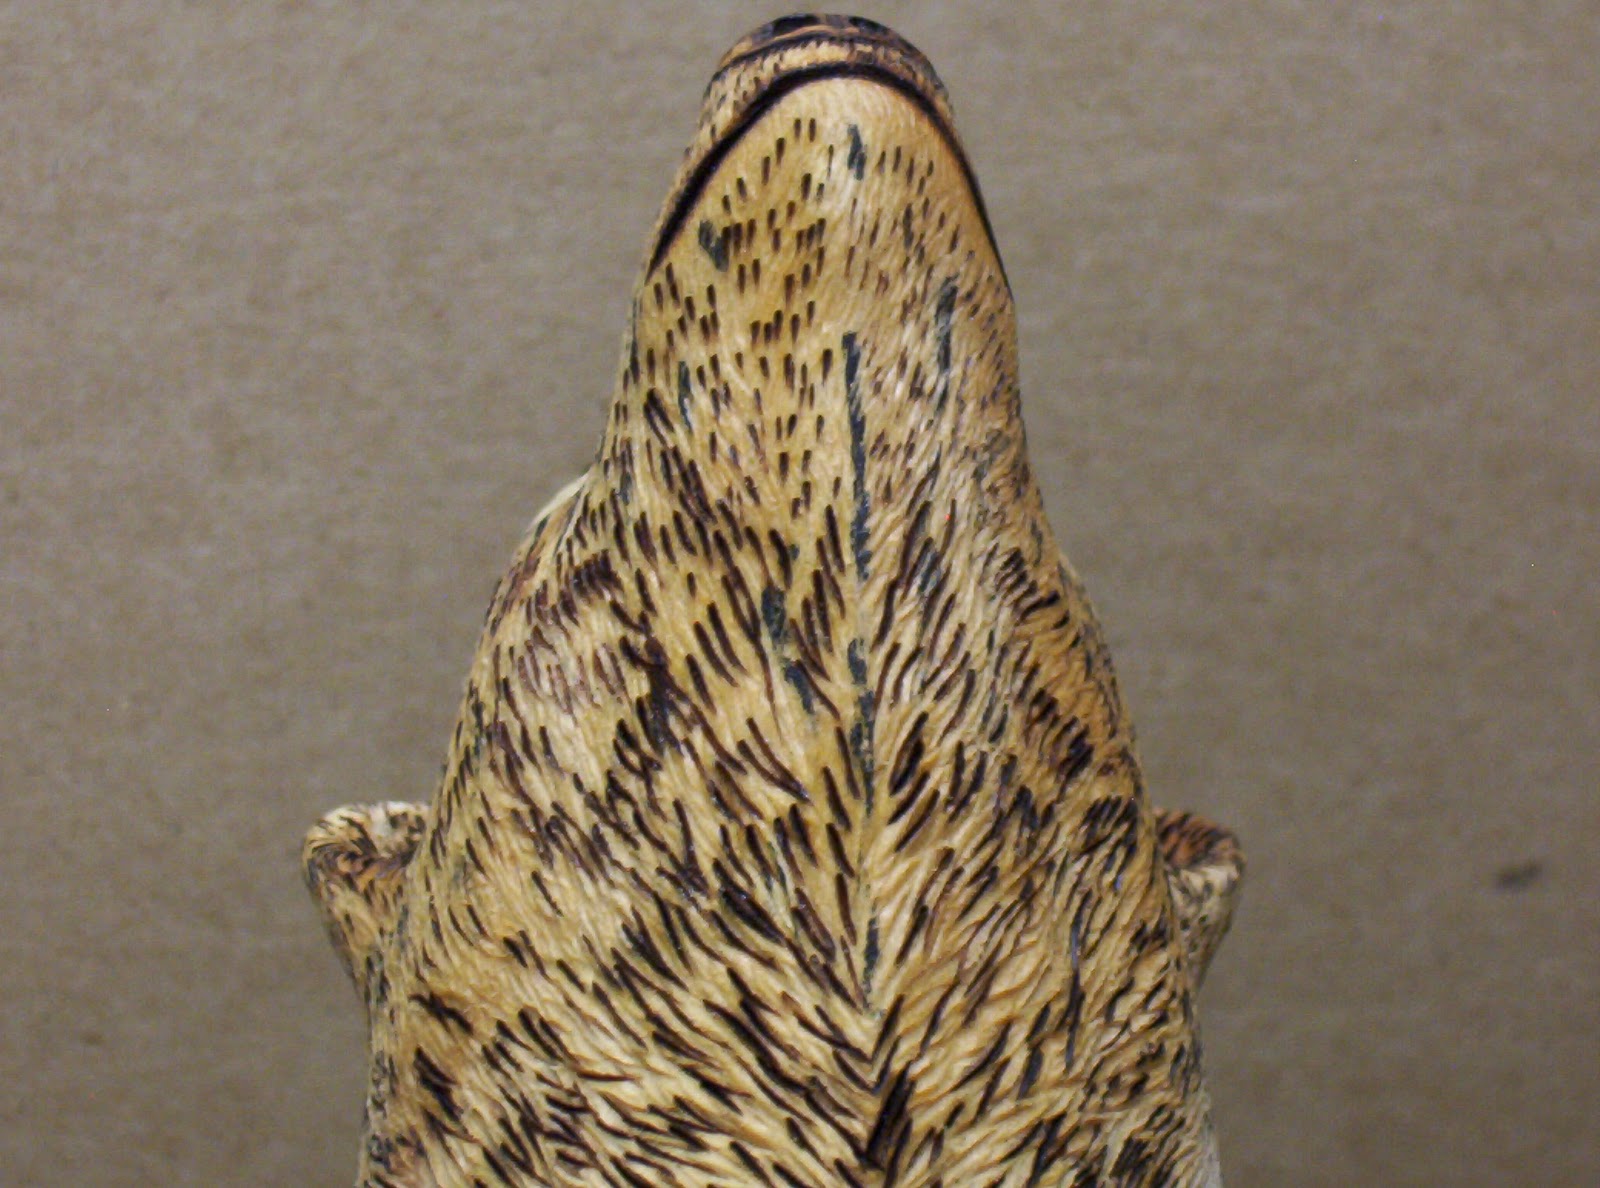
 Well I have finally completed the texture of all the hair for the polar bear. To me putting the texture on is probably the most tedious and time consuming part of the whole carving process. But it is also the one that can add the most realism to the carving. When I first started carving animals I would try to do all the texturing at one setting.  I now try to limit my texturing to half hour sessions with a break in between. This gives my eyes a break, helps keep my mind on the job at hand, and helps to eliminate or keep mistakes to a minimum. It may be hard to see in the pictures the subtle changes in the texture from long hair to shorter or the way it changes direction under the legs. I have an idea I'm kicking around that I can show texturing a little clearer. I will post that up at the same time I show how I set the eyes on my animal carvings. Here are the pictures of the bear all haired and ready for the sealer and then paint.


Now on to the paint shop and we'll give our bear some real life.
 

Friday, September 14, 2012


Now I have the bear ready for texture. I have carved the body to shape put in a few muscle and fur lines, and drawn in some rough guidlines for the flow of the hair. When I carve the body to shape I use the Saburrtooth or Karbide bits, these leave a rough texture on the bear. I can't  always go in a downward and back direction like the hair flows. The horizontal scratches may be fairly deep and can somtimes be seen in the final texture. To make sure all the hair will be going down and back I go over it agian with ruby and diamond bits to smooth it. I try as much as possible to go in the right direction, once again down and back. At times I may have to go over the carving by hand with sandpaper to get it smooth. When I say smooth I am not talking like glass, far from it, I want some small bumps and valleys as this helps to highlight the texture.


No matter how many animals I carve before I get ready to texture I draw in some basic guidlines for the hair. This way I can work out, with pencil, the areas where the hair changes direction. Under the legs, muscle lines and transition areas from courser hair to shorter hair are main areas to concentrate on.

Tuesday, September 11, 2012

Here we go on to carving the body of the polar bear. I think I need to clarify what I said earlier about some carvers working the entire carving. Once I have the head of my carving done and have moved onto the body I do work the entire carving at once. Here are some pictures of my progress so far.


As you can see by the third and fourth picture whenever I carve the center line off, I draw it back on asap. This way I can keep the carving symetrical, I maintain the center line throughout until I have finished the texture.
 
 
Now I'll talk a little about the bits I use for carving. The bits in the top row are Saburrtooth bits and are really aggressive. They leave a rough finish on the wood. The one on the left is the 1/4 inch size that I use in my Foredom, it is super agressive and nasty when you bump it against your hand. Whenever I use this bit I wear leather gloves on both hands. The smaller bits 1/8th and 3/32 are also aggressive on the wood but don't remove as much meat when you bump them against your hand. I usually don't wear a glove when using these.
The bottom row of bits are Karbide Kutzall bits they aren't as aggressive and leave a smoother finish on the wood. I will start out with the Saburrtooth, then go to the Karbide and finally use ruby and diamond to smooth the carving. This is a flame tip and the one I use the most, but there are many other shapes available.

One last word for today. I have a room in my basement that is dedicated just for my carving. Power carving creates a lot of sawdust, some course and some a very fine dust. For health concerns I think it is imperative that a dust collector of some sort is used. I have a dedicated dust collector just for my carving area, and even with the collector I still end up with a fine layer of dust on the desk and other things. This was the biggest reason I have a room that I can use just for carving. The use of a dust mask is also a must in my opinion. I use the disposable ones at about a buck a piece. I usually wear the same one for 3-4 carving sessions.

Well I'm off to finish up the carving of the body of our polar bear. Next time we will see the carving completed and the bear ready for texture.

Monday, September 10, 2012

Here are the pictures of the head after the texture and sealer have been applied. I use Deft wood finish thinned 50/50 with laquer thinner as a sealer. I usually apply three coats to make sure I have the carving completely sealed. Around the eyes or any place I have used wood putty I make sure that the sealer does not fill the texture. The wood putty does not absorb the sealer like the wood does.


As you can see I have used the woodburner to highlight, fill in and make some of the cuts deeper. By using the woodburner  it is also easier to blend in the shorter hair of the face to the longer hair around the neck area. Now that I have the head textured and sealed I can move on to carving the body.

This morning I have finished up the texture on the head and applied 3 coats of sealer. When I texture I use a couple of different tools. I use the blue Ceramcut stones, I like these over the white stones because they seem to run cooler so you don't burn the wood. They also don't to need to be cleaned as often. I also use a diamond carving bit and the woodburner. Depending on where I am working on the carving will dictate which bit I will use. Generally the hair is shorter near the face. I will use the smaller bits for shorter or finer hair and the larger ones for longer or courser hair. Remember the hair on all animals almost always flows down and back. From the nose to the tail is how I carve the bear and also how I texture him.

These are the bits I use most often when I texture. The two on the right are the Ceramcut stones the other two are diamond bits. These surely are not the only ones I will use as there are many others that I have and will use depending on the carving.


Sunday, September 9, 2012

Now for the eyes. Due to an operator error (mainly mine) the pictures I had taken of the layout process for the eyes were inadvertently deleted. Sometime before we are finished with the bear I will carve another head. I will then cover how to layout the eyes, insert them and use putty to form the eye lids. The pictures below are of the completed head ready for texture. The eyes have been inserted with the lids formed and the ears have been carved in place.


I prefer to use Dap Plastic Wood putty to form the eye lids and the area around the eyes. I use acetone as a thinner for the putty. By using this I can easily adjust the eyes lids by keeping the putty moist with the acetone. The head is now ready for the texture process and then it can be sealed. As you can see a polar bear has a long slim head, with much smaller ears that are further down the sides of the head.


Here we have the completed nose along with the mouth carved and burned in place. Next comes the eyes.